
react-live, the playground you need in your digital garden
October 18, 2020 . 3 min read
react-live
playground
coding
Here I will integrate and style react-live together with prism-react-renderer and theme-ui. I have integrated react-live before, but the styling that I was using was terrible and as a result, I never used it.
In a way this post is a continuation of my first post about prism-react-renderer that you can check here.
Changing my code component
We need to make a couple of changes on the code component and as a first step we will need to install and set up react-live. After that, I will bring the theme-ui hook to get the pre tag styling that we had defined before and for pass that style to the LiveEditor component.
Because I also want to differentiate my LivePreview component, I will give it the styling I want.
src/components/code.js
/** @jsx jsx */import { useThemeUI, jsx } from "theme-ui";import { LiveProvider, LiveEditor, LiveError, LivePreview } from "react-live";import theme from "prism-react-renderer/themes/nightOwl";import Highlight, { defaultProps } from "prism-react-renderer";import rangeParser from "parse-numeric-range";import Title from "../components/title";import "../css/code.css";const getParams = (className = ``) => { const [lang = ``, params = ``] = className.split(`:`); return [lang.split(`language-`).pop().split(`{`).shift()].concat( params.split(`&`).reduce((merged, param) => { const [key, value] = param.split(`=`); merged[key] = value; return merged; }, {}) );};const LiveCode = (props) => { const context = useThemeUI(); const preStyle = context.theme.styles.root.pre; const className = props.children.props.className || ""; const [language, { title = `` }] = getParams(className); return ( <LiveProvider code={props.children.props.children.trim()} theme={theme}> <Title className="code-title" text={title}> {language} </Title> <LiveEditor style={preStyle} /> <LiveError /> <LivePreview sx={{ bg: `hover`, p: 3, border: `1px solid`, borderColor: `highlight`, mt: 3, }} /> </LiveProvider> );};Now that we have the LiveCode component defined, we will need to change what we would return depending on the prop that we will be passing on our markdown file. It makes sense to pass react-live as a prop in the our markdown to render the LiveCode.
As a result we will need to implement the following.
src/components/code.js
...const Code = (props) => { if (props.children.props["react-live"]) { return <LiveCode {...props} />; } else { return <SyntaxHiglight {...props} />; }};export default Code;...The playground is ready
Now you can see, from a functional perspective, how to create a like button. What is interesting here is that you can also change the code to test it out.
PLAYGROUND
0
Hope this was useful.
More posts about Code

Deploying Keystone-6 with Render
1 minutes read

Paginating through cards in NextJS not changing the url
1 minutes read

Thinking how to fetch data in nextjs
3 minutes read

Learning Advanced React with Wesbos
4 minutes read
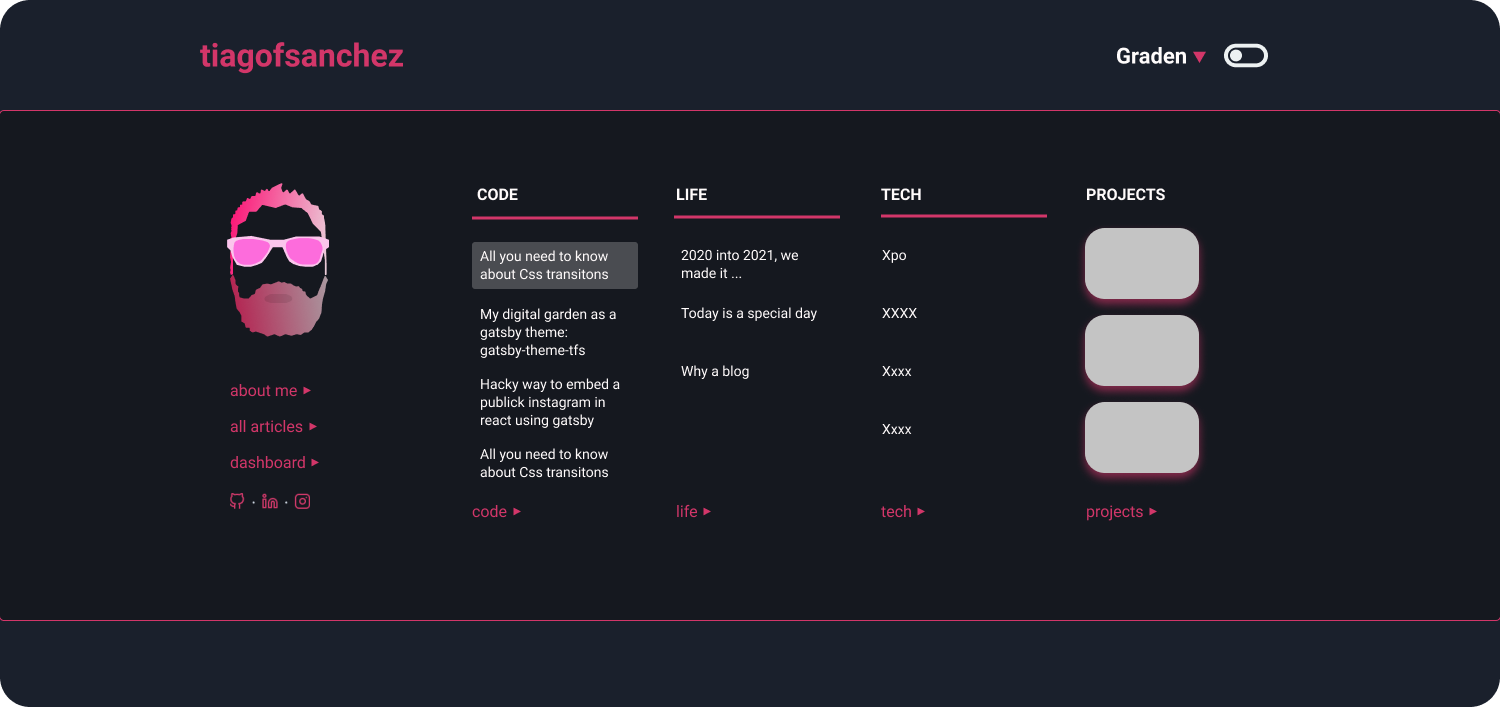
Designing and implementing a megamenu in my digital garden
3 minutes read

All you need to know about CSS transitions
2 minutes read
Subscribe
No spam! Only good stuff!